All videos

Video series · 7 episodes

Grafting

Grafting plants

Start series
01

The Grafting Tools I Actually Use

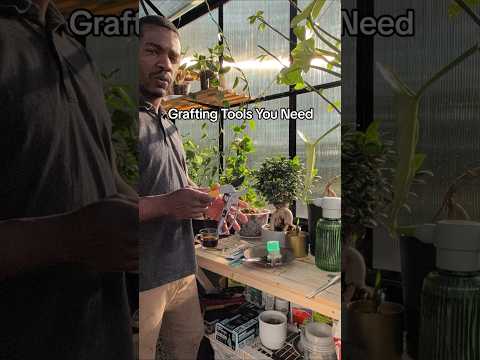
Before grafting, I gather my pruners, sharp grafting knife, tape, zip ties, caliper, labels, marker, sharpening file and cutters. Having the right tools ready makes the entire process much easier—and don’t forget the coffee! ☕🌳

1:17
02

The Caliper Trick for a Perfect Pear Graft

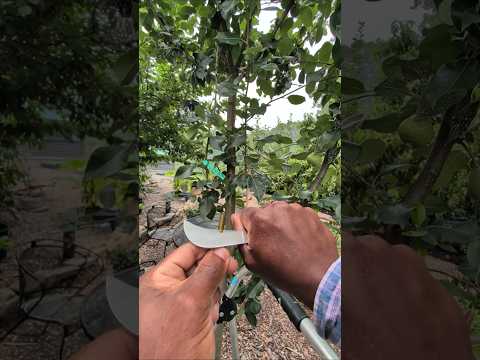
A simple caliper trick helps me find a cutting that closely matches the branch size, giving the graft a better chance of lining up and healing successfully.

0:37
03

Finding the Perfect Cutting for My Pear Graft

I used a caliper to find a Kieffer pear cutting that closely matches the branch size. A good match makes it easier to line up the cambium layers.

0:34
04

You’ve Been Wrapping Grafts the Wrong Way!

This simple grafting-tape technique protects the scion and makes it easier to unwrap later without disturbing the graft union. #TreeGrafting #GraftingTips #FruitTrees #PlantPropagation #BackyardOrchard

0:34
05

This Cut Can Make or Break Your Graft 🌱🔪

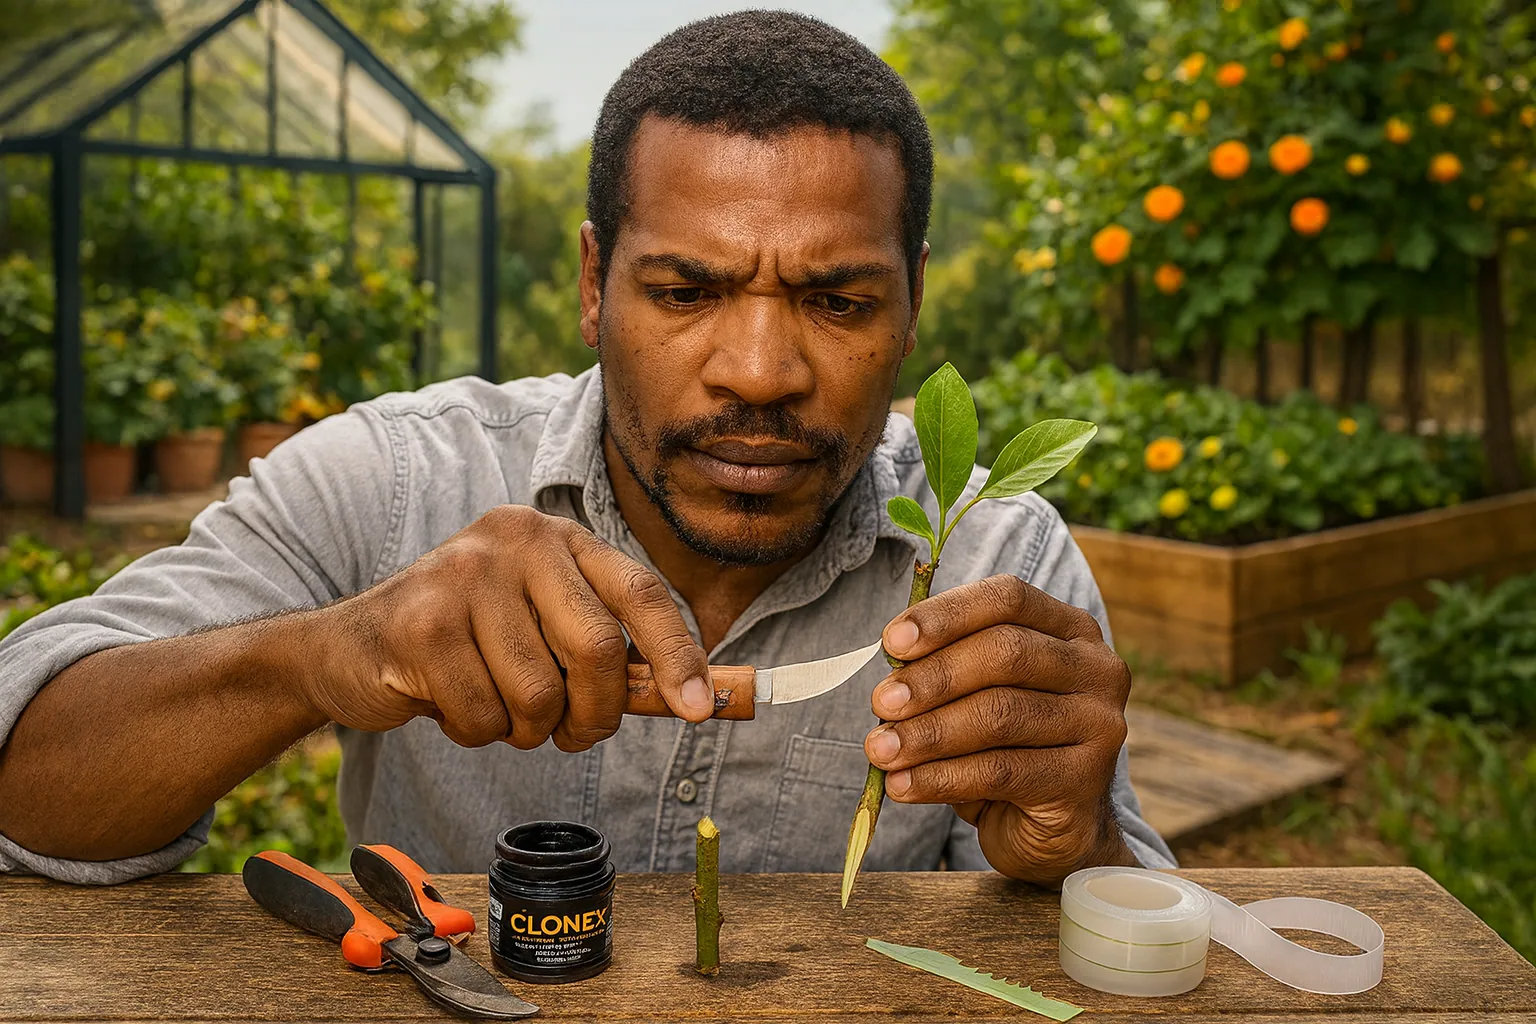
A successful graft starts with a clean, sharp wedge. I taper both sides evenly so the scion fits tightly and the cambium layers can line up properly. #Grafting #FruitTreeGrafting #TreePropagation #GardeningTips #BackyardOrchard

0:57
06

The Perfect V-Graft Fit

I pushed the scion down until the V-shaped cut fit tightly, then secured everything with zip ties so the graft stays in place while it heals. #Grafting #FruitTreeGrafting #GardeningTips #BackyardOrchard

0:24
07

They Said Zip Ties Wouldn’t Work

I used zip ties to hold this pear graft firmly in place, then sealed it with grafting tape. Now new buds are pushing out, proving the graft is taking. Once the buds grow larger, I’ll remove the upper tape and let the graft union continue to fuse. #Grafting #PearTree #FruitTrees #GardeningTips

0:52