
Fixing the Cold Draft Beside My Indoor Plants

Cold air leaks around house windows stress indoor plants. I walk through the Duck window insulation kit — the shrink-film steps, done per the instructions.
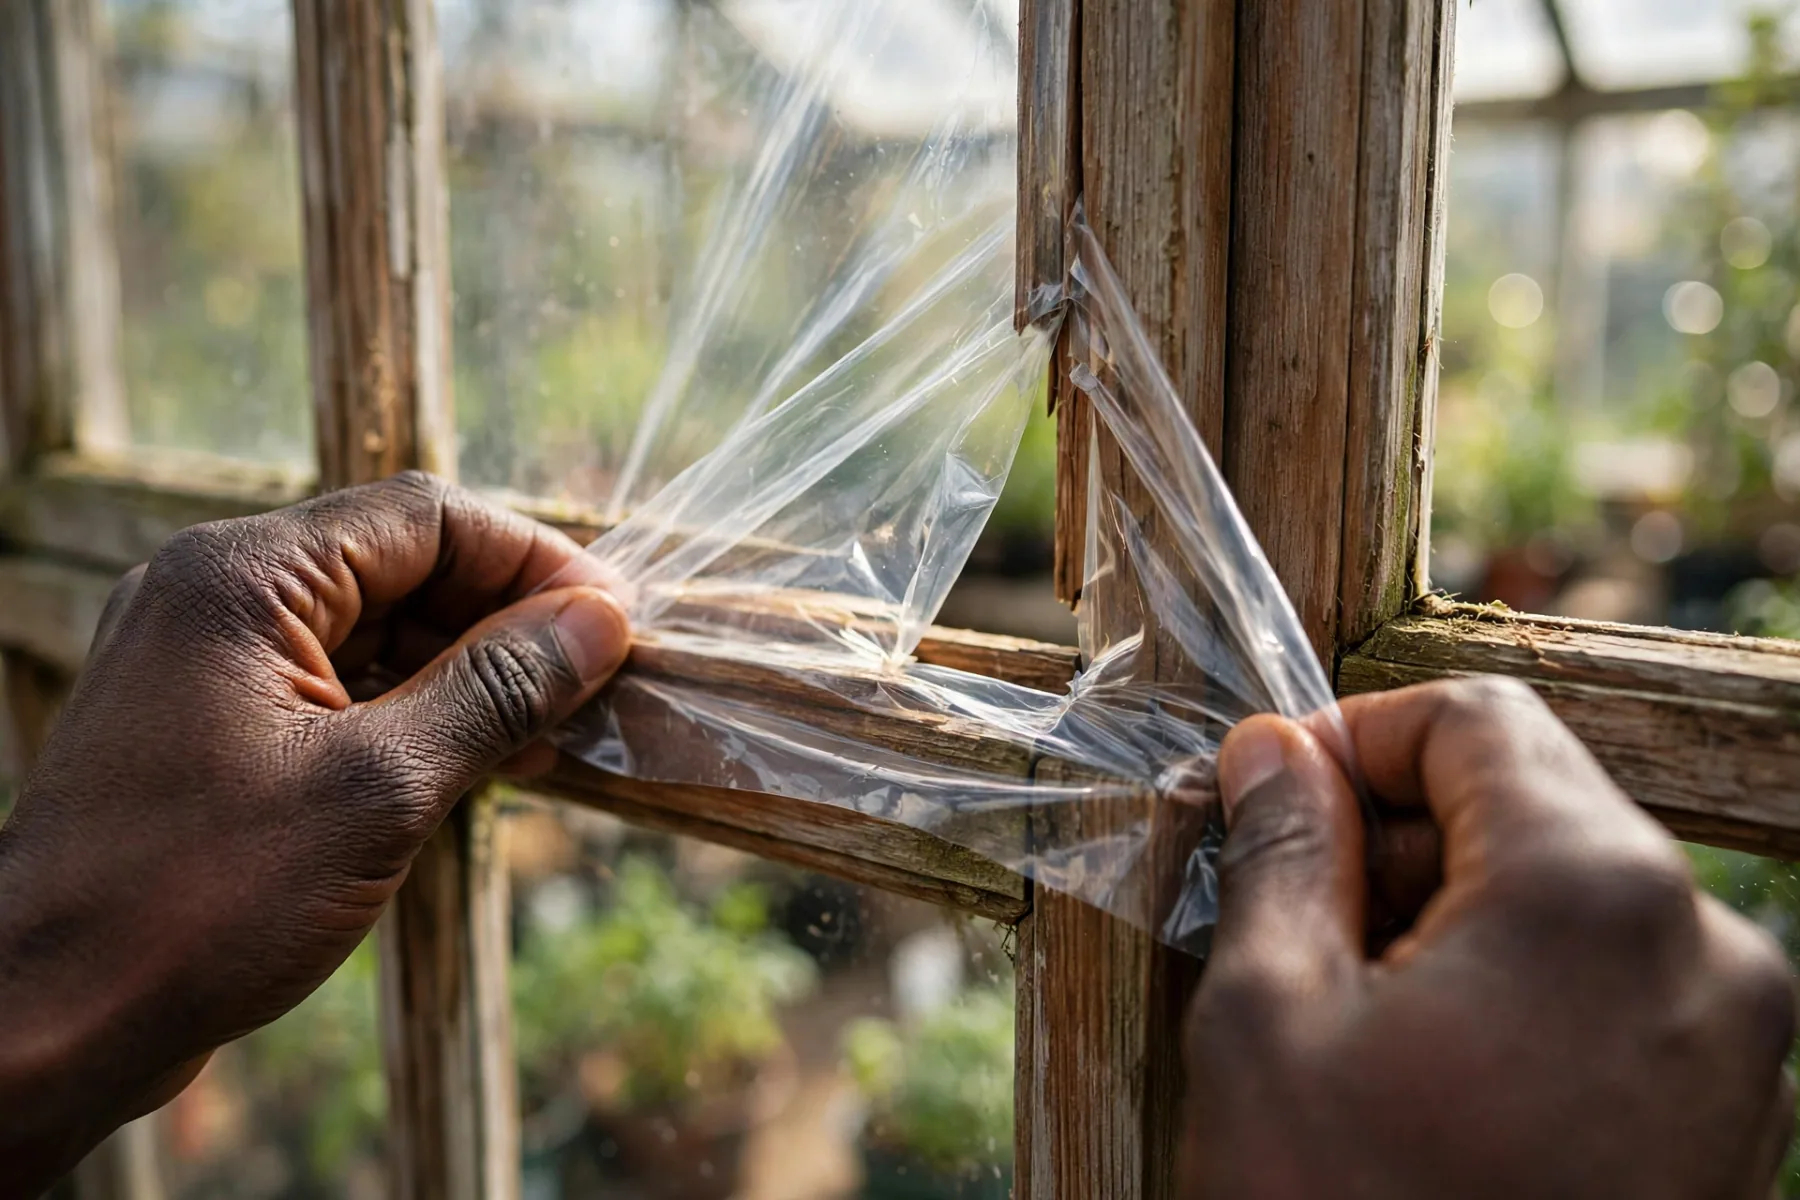
The sunniest window in my house is also the coldest spot in my house. My indoor plants sit right there on the sill, soaking up what little winter light comes through, and all night long cold air seeps around the frame and pools right where they are sitting.
So this weekend I am fixing it with a Duck window insulation kit. It is the shrink-film kind: double-sided tape around the window frame, a sheet of clear plastic film pressed onto the tape, then a pass with a hair dryer that shrinks the film drum-tight. I am doing it on an actual house window, following the instructions in the box, step by step. Here is the plan and why it matters for the plants.
🌱 What I use
Duck Window Insulation Kit — the shrink-film kit I am using to seal the drafty window behind my indoor plants.
https://www.amazon.com/dp/B09JM8DCYL?tag=andreferrei04-20
Why window drafts hurt indoor plants
Cold air is heavy, so it slides down the glass and settles on the sill, exactly where the pots are. The leaves closest to the window can sit in air many degrees colder than the rest of the room, and the temperature swings every time the wind picks up. Tropicals hate that: cold damage shows up as dark, water-soaked patches on leaves, dropped leaves, and growth that stalls completely. A drafty window is basically a slow leak of winter straight onto your plants.
What the kit is
The Duck kit is simple: a roll of double-sided tape and a sheet of clear shrink film sized for a standard window, plus instructions. No tools beyond scissors and a hair dryer. The idea is to create a dead-air pocket between the film and the glass. Still air insulates, so that pocket cuts the cold radiating off the glass and stops the draft from spilling onto the sill. It comes off in spring with no damage to the frame.
The steps, on my window
I am doing this exactly per the instructions in the box:
- Measure and cut: measure the window and cut the film a little oversized. Better too big than too small; the excess gets trimmed at the end.
- Clean the frame: wipe down the window frame so the tape actually sticks. Dust and old grime are the number one reason these installations fail.
- Apply the tape: run the double-sided tape all the way around the frame, pressing it down firmly, no gaps at the corners. Gaps are where drafts sneak back in.
- Stick the film: starting at the top, press the film onto the tape, working down and keeping it as smooth as you can. Wrinkles at this stage are fine; the heat fixes them.
- Shrink it tight: run a hair dryer over the film, keeping it moving. The film tightens up and goes nearly invisible. Do not hold the heat in one spot.
- Trim the excess: trim the extra film along the frame for a clean edge.
What I am watching for after it is up
- Condensation: if moisture collects between the film and the glass, that is the room's humidity condensing on the cold surface. A little is normal; a lot means I need to air things out occasionally.
- The plants behind it: the plants still sit on that sill, so I will keep checking the soil. A sealed window changes the airflow, and I do not want soggy soil sitting cold and still.
- The seal: if an edge peels, the draft comes right back. I will check the tape line when I water.
Honest expectations
This is a draft fix, not a new window. It will not make the sill as warm as the living room, but it should cut the worst of the cold spill and the wind-driven swings, which is what actually damages leaves. I will know it is working if the curtains stop fluttering and the plants on that sill stop looking stressed. That is the test: the plants.
The bottom line
My indoor plants live in the sunniest, coldest spot in the house, and a twenty-minute shrink-film job is the cheapest way I know to take the edge off. Tape, film, hair dryer, done per the instructions. If your plants are parked on a drafty sill too, this is a weekend project worth doing before the real cold arrives.
Keep exploring
Find more Junecity guides
Browse practical gardening, outdoor living, and DIY articles.Browse the blogKeep growing
Suggested reading

Find the Clues. Win the Lemon Tree. 🍋
Join the Junecity.studio Treasure Hunt and learn how to care for your very own Meyer lemon seedling. Discover tips, tricks, and the best practices to grow and nurture this delightful citrus tree!

The Tiniest “Orange” Growing in Connecticut 🍊❄️ #FlyingDragon #HardyOrange #ConnecticutGarden
Discover the fascinating story of the Flying Dragon, a hardy orange tree thriving in Connecticut's winters. Learn about its unique characteristics, care tips, and how to grow this extraordinary citrus in your own garden.
0 comments
Comments (0)
We love hearing from our community. Share your thoughts, questions, or experience.
Have something to add?
Log in to post, react, share images, and join threads.
Newest First
All Comments
Showing 0-0 of 0
Start the conversation.
Questions and first-hand experience are welcome here.