
Rotate and zoom a realistic front-and-back 3D model of the pine chevron garden trellis.
Gardening
How I Built a Beautiful Wooden Garden Trellis Using Simple Pine Lumber
A warm, behind-the-scenes look at why I built this pine chevron trellis, how the design came together, and how it changed the garden.
I wanted a garden trellis that would support climbing plants without looking like an afterthought. The structure needed to feel useful on day one, but it also had to earn its place in the garden before a single vine wrapped around it. That is what led me to this pine chevron design: a simple wooden frame with repeating angles that give the garden height, rhythm, and a strong focal point.
This is not a cut list or a set of construction plans. It is the story behind the design - why I chose straightforward pine lumber, how I thought through the shape, and what I learned about turning basic materials into something that feels intentional outdoors.
Why I wanted more than a basic plant support
Many practical trellises disappear once the plants fill in. That can be perfectly fine, but I wanted this one to contribute something visually even in the quieter parts of the season. The open chevrons create a strong vertical pattern, while the wide frame gives climbing stems several natural directions to follow.
The design also helps organize a planting area. Instead of reading as a loose collection of vines and stakes, the bed gains a clear backdrop. In spring, the pale wood feels light and fresh. As the garden fills out, the angular structure contrasts with soft leaves and flowers. Later in the season, the same outline still gives the space shape.
Design idea: A garden structure can do two jobs at once - guide the plant and improve the view.
Why I chose simple pine lumber
Pine made sense because it is approachable, widely available, and easy to shape with ordinary woodworking tools. Its warm color also fits naturally with a garden. I was not trying to make the lumber look expensive or overly polished. I wanted the finished piece to feel clean, solid, and honest.
The important part is selecting boards carefully. Straight pieces make the finished frame feel calm and balanced, while badly twisted or damaged lumber can make even a simple design difficult to align. I also paid attention to the grain and knots because those details become part of the final look rather than something to hide.
How the chevron idea came together
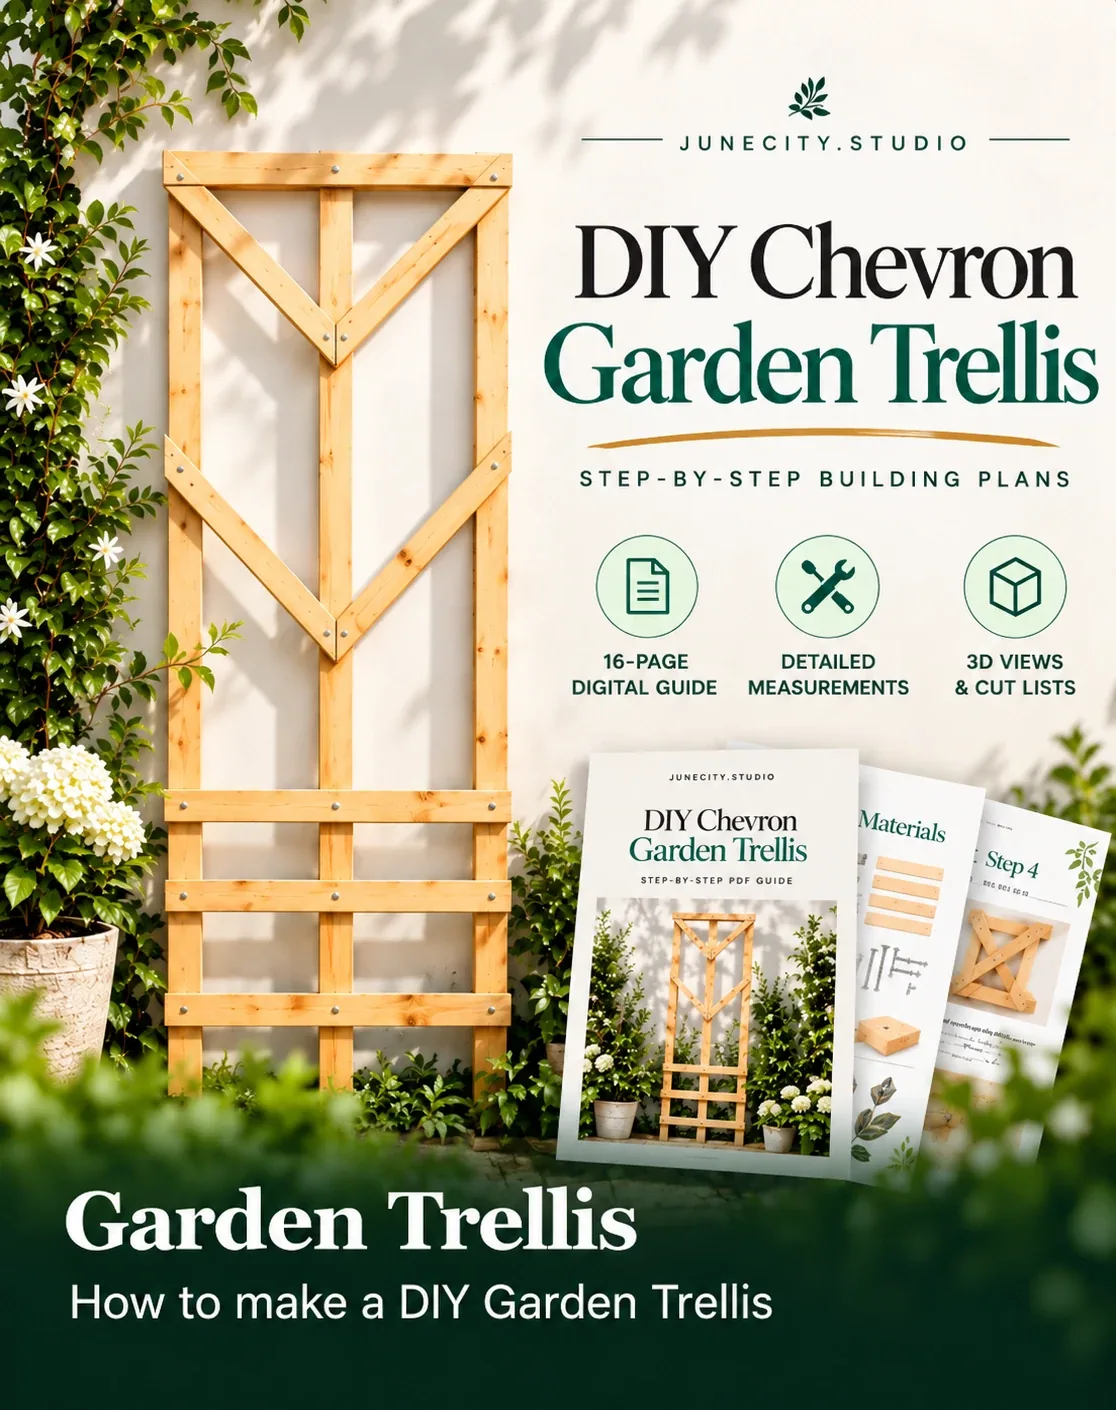
I began with the outer frame and the central vertical line. Those elements establish the silhouette and give the angled pieces something clear to meet. From there, the chevrons became the visual language of the whole trellis. Repeating the same direction above and below makes the design feel related without making it too busy.
The angled pieces are what transform a plain rectangle into a garden feature. Their meeting points needed to look deliberate from the front, while the depth of the frame needed to feel believable from the sides and back. That is why the interactive model above includes distinct face, edge, end-grain, and rear-surface shading - you can rotate it to understand how the layers sit together instead of seeing only a flat diagram.
I kept the layout open enough for air and light to pass through. A trellis should support plants, but it should not become a solid wall. The negative space is part of the design, especially before the vines have fully grown.
Watch the complete series
Garden Trellis
How to make a DIY Garden Trellis
The general building flow
I treated the project as a sequence of simple decisions rather than one complicated assembly. First came a square, stable outer structure. Next came the center support that visually divides the frame. Then I worked outward with the diagonal pieces, checking the overall balance as the pattern developed. The lower rails completed the composition and gave the bottom of the trellis enough visual weight to match the top.
Working on a flat surface helped me see the entire design at once. I could step back, compare both sides, and correct the relationship between pieces before committing to the next stage. That broad visual check mattered more than rushing through each joint independently.
If you are designing your own version, focus on symmetry, straight lumber, clean contact between pieces, and a stable frame. Those principles matter more than copying one exact arrangement.
Finishing the wood for a garden setting
Pine is attractive, but outdoor exposure deserves respect. I smoothed the surfaces and softened sharp handling edges so the trellis would be comfortable to move and less likely to catch stems. Any finish should be chosen for exterior use and allowed to cure according to its instructions before plants are trained against the wood.
Finish is also a design choice. Leaving the wood visually light keeps the structure airy, while a darker stain can make the chevrons feel more architectural. A clear or natural-looking exterior treatment lets the pine grain remain part of the story. Whatever look you choose, give special attention to exposed ends and joints, where moisture can linger.
How the trellis changed the garden
The biggest surprise was how much structure it added before the planting was complete. It gave the eye somewhere to land and made the bed feel designed instead of temporary. Once vines begin moving through the frame, the geometry and plant growth start to work together: straight lines create order, while leaves and stems soften them.
That balance is what I like most about the project. It is practical enough to support climbing plants, but it is also attractive enough to stand on its own. The trellis feels handmade without feeling rough, and decorative without becoming fragile or fussy.
You can see more of my outdoor builds in the Junecity projects collection, or watch the complete Garden Trellis video series to follow how this design developed on camera.
What I would keep in mind before building your own
Start with the place where the trellis will live. Consider the mature plant, the direction from which the structure will be viewed, and how you will anchor it safely. A beautiful frame is only useful when it remains stable in real garden conditions.
Keep the pattern simple enough to read from a distance. Repetition makes the chevrons feel intentional, but too many small pieces can compete with the plants. Finally, allow the wood to be wood. Natural grain, small color changes, and a few honest imperfections help the finished structure belong outdoors.
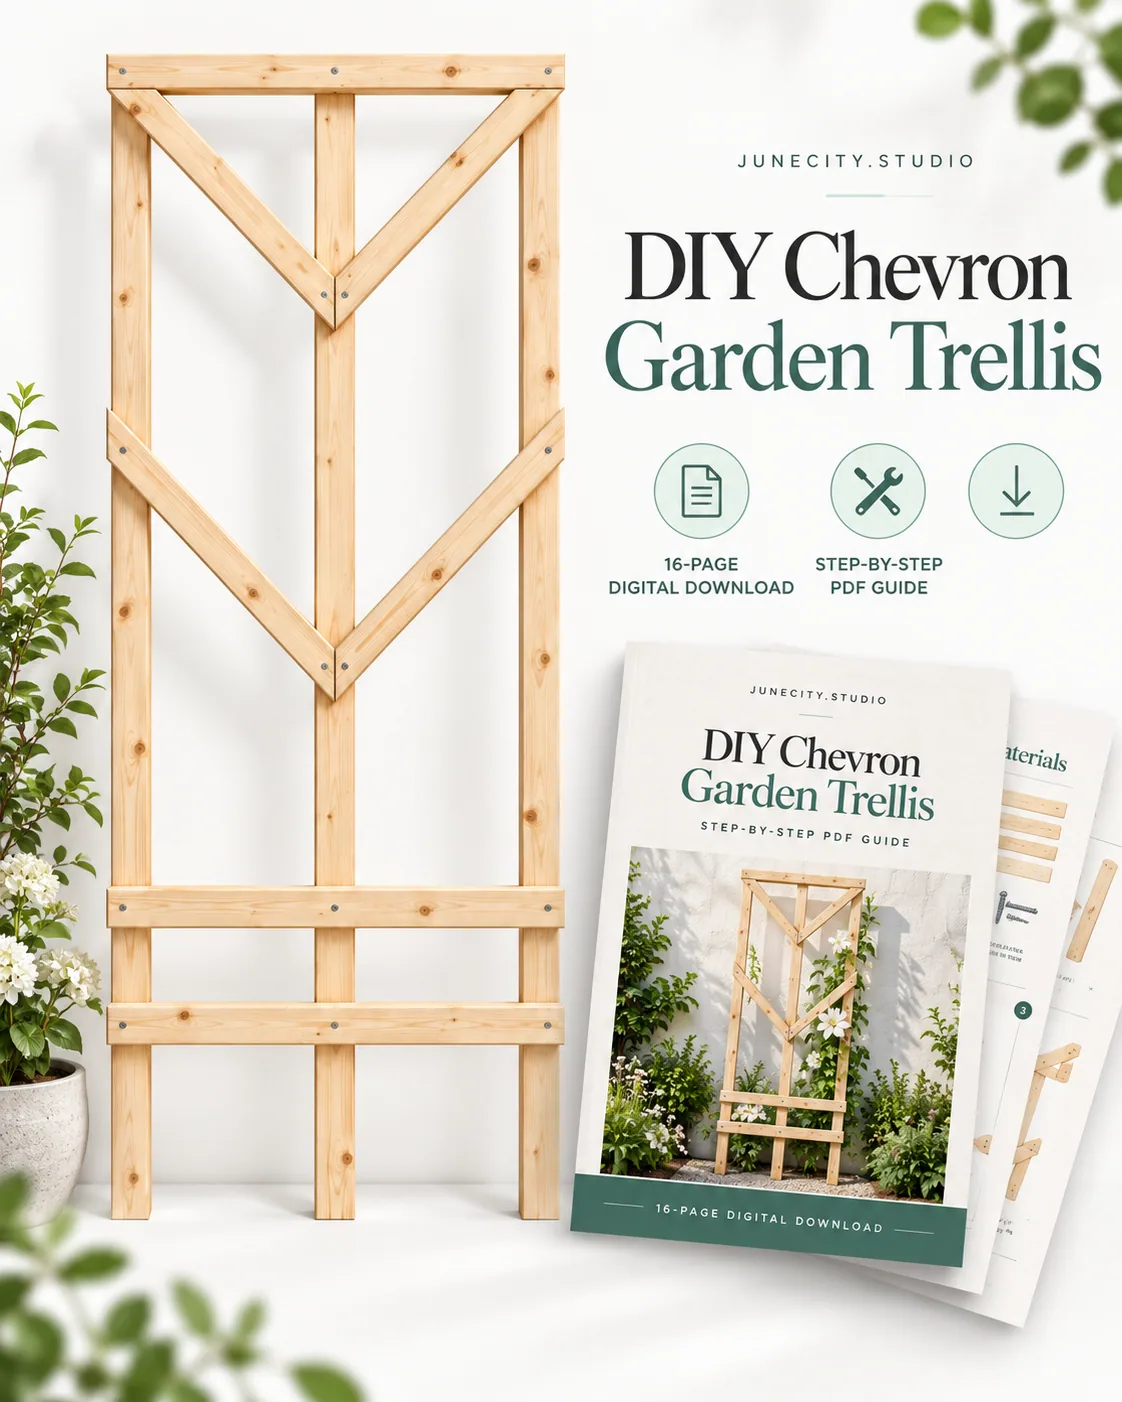
For readers who want the complete materials, dimensions, cut information, and construction sequence, I created a separate downloadable guide. The article stays focused on the design story; the guide carries the exact build details.
16-page digital download
DIY Chevron Garden Trellis - Step-by-Step Building Plans
Ready to build it? The complete guide includes the exact materials, dimensions, cut information, illustrated sequence, and practical notes that are intentionally kept out of this editorial story.
$10Explore the Building GuideFrequently Asked Questions
Can pine be used for an outdoor garden trellis?
Yes, when sound lumber is prepared carefully and protected with an appropriate exterior finish. Pay particular attention to exposed ends, joints, drainage, and safe anchoring, then inspect the structure as it weathers.
What plants can grow on a wooden chevron trellis?
The open pattern can guide many ornamental or edible climbers, but the right choice depends on the plant's mature weight, growth habit, climate, and how securely the trellis is installed. Use separate soft ties where a plant cannot attach by itself.
Can I inspect the trellis from every side?
Yes. The interactive model at the top of the article can be dragged to rotate, pinched or scrolled to zoom, reset, and set to auto-rotate so the front, rear, edges, and depth are visible.
 Picking Fresh Pears Straight From My Tree! 🍐
 Find the Clues. Win the Lemon Tree. 🍋
 I Grew This Apple Tree From Seed… Then Grafted Yellow Delicious Onto It 🍎
 I’m Selling Cuttings From My Giant Golden Pothos
0 comments
Comments (0)
We love hearing from our community. Share your thoughts, questions, or experience.
Have something to add?
Log in to post, react, share images, and join threads.
Newest First
All Comments
Showing 0-0 of 0
Start the conversation.
Questions and first-hand experience are welcome here.