
Using Burpee Organic Coconut Coir Seed Starting for Arborvitae Cuttings

Learn how to effectively use Burpee Organic Coconut Coir Seed Starting Mix for propagating arborvitae cuttings, ensuring a successful start for your plants.
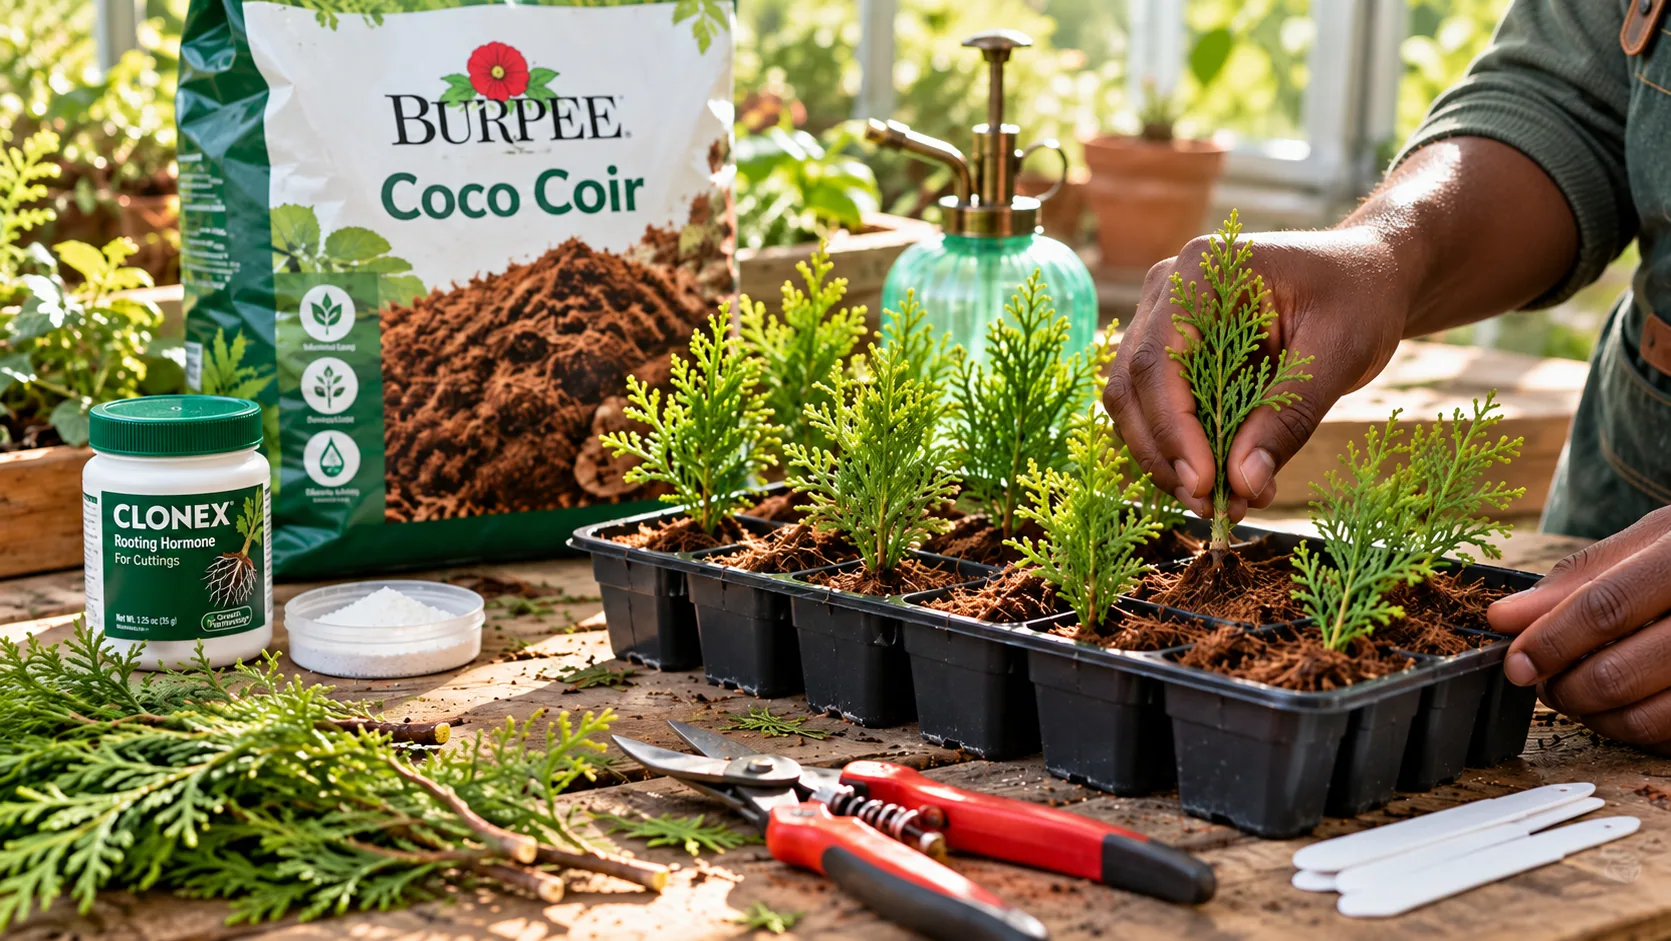
Starting arborvitae cuttings can be a rewarding experience, especially when using the right materials. Burpee Organic Coconut Coir Seed Starting Mix is an excellent choice for this purpose. This mix expands to 16 quarts when hydrated, providing a light and airy medium that promotes healthy root development in cuttings. In this article, we will go into detail about why coconut coir is beneficial, how to prepare your cuttings, care for them, and common mistakes to avoid.
Why Choose Coconut Coir?
Coconut coir is derived from the husks of coconuts and offers several advantages for seed starting:
- Environmentally Friendly: Being a renewable resource, coconut coir is a sustainable choice for gardeners. It is a byproduct of the coconut industry, meaning that using it helps reduce waste.
- Good Aeration: Its fibrous structure allows for excellent air circulation, which is crucial for root growth. Good aeration prevents compacted soil, which can suffocate roots.
- Moisture Retention: Coir retains moisture well, reducing the need for frequent watering. This is particularly beneficial for cuttings, which require a steady moisture level to root successfully.
- Neutral pH Level: Coconut coir typically has a pH level between 5.5 and 6.8, making it suitable for most plants, including arborvitae.
- Lightweight: The lightweight nature of coir makes it easy to handle, transport, and use in your gardening projects.
Steps to Prepare Arborvitae Cuttings
- Gather Materials: You will need Burpee Organic Coconut Coir Seed Starting Mix, clean pots or trays, sharp pruning shears, and water for hydration.
- Prepare the Coir: Hydrate the coconut coir by adding water as per the instructions until it expands fully. This process usually takes about 10-15 minutes. Once hydrated, fluff the coir with your hands to break up any clumps and ensure even consistency.
- Take Cuttings: Use the pruning shears to take 4-6 inch cuttings from healthy arborvitae plants. Make a clean cut just below a leaf node, as this is where root development will occur. Choose healthy, green stems that are not too woody or too soft.
- Prepare the Pots: Fill your pots or trays with the hydrated coconut coir, leaving about half an inch of space from the top. Gently press the coir down to eliminate any air pockets without compacting it too much.
- Plant the Cuttings: Insert the cuttings into the hydrated coir, ensuring that at least one leaf node is buried in the medium. This step is crucial, as roots will form from this node. Space the cuttings about 2-3 inches apart to allow for growth.
- Water Gently: Moisten the coir again after planting the cuttings, being careful not to overwater. Use a spray bottle or a gentle watering can to avoid displacing the cuttings.
- Provide Humidity: Cover the pots with plastic wrap or a humidity dome to maintain moisture levels. This creates a mini-greenhouse effect, helping the cuttings retain humidity.
- Place in Indirect Light: Keep the pots in a warm, well-lit area, but out of direct sunlight to avoid overheating. A temperature range of 65-75°F (18-24°C) is ideal for rooting.
Care for Your Cuttings
Once planted, monitor the cuttings for signs of growth. It's important to keep the coir consistently moist but not soggy. Overwatering can lead to rot, while underwatering can dry out the cuttings. Follow these care tips:
- Check Moisture Levels: Use your finger to check the moisture level of the coir. If it feels dry an inch below the surface, it's time to water.
- Remove the Plastic Cover Gradually: As the cuttings begin to develop roots and new growth, gradually remove the humidity cover. This allows the cuttings to acclimatize to the ambient environment and reduces the risk of shock.
- Look for Roots: After 4-6 weeks, gently tug on the cuttings to check for resistance, indicating that roots are forming. Once you feel resistance, it’s a sign that they are ready for transplanting.
Common Mistakes to Avoid
- Overwatering: Too much moisture can lead to rot. Ensure good drainage by using pots with holes and monitoring water levels closely.
- Poor Light Conditions: Insufficient light can hinder root development. If you notice your cuttings stretching towards the light, consider moving them to a brighter location or using grow lights.
- Neglecting Temperature: Keep the cuttings in a warm environment to encourage rooting. Avoid placing them near drafts or in areas with fluctuating temperatures.
- Not Using Fresh Cuttings: Always use fresh cuttings from healthy plants. Old or diseased cuttings are less likely to root successfully.
- Ignoring Fertilization: While cuttings don’t need much nutrition initially, once they develop roots, consider using a diluted liquid fertilizer to promote healthy growth.
Conclusion
Using Burpee Organic Coconut Coir Seed Starting Mix can significantly enhance your success when propagating arborvitae cuttings. With proper care and attention, your cuttings will thrive, leading to healthy, robust plants. Remember to monitor moisture levels, light conditions, and temperature to create the optimal environment for rooting. Happy gardening!
Keep exploring
Find more Junecity guides
Browse practical gardening, outdoor living, and DIY articles.Browse the blogKeep growing
Suggested reading

I Wasn’t Expecting This Pear to Get THIS Big 😳🍐
Discover the secrets behind growing enormous pears in your backyard. Learn about optimal care, common mistakes, and the best practices for ensuring a fruitful harvest.

I Waited Almost a YEAR for This Lemon 🍋😳
After nearly a year of careful nurturing, the moment has finally arrived to harvest my Ponderosa lemon. Join me as I share the journey of growing this fragrant fruit and the joy it brings to my greenhouse.
0 comments
Comments (0)
We love hearing from our community. Share your thoughts, questions, or experience.
Have something to add?
Log in to post, react, share images, and join threads.
Newest First
All Comments
Showing 0-0 of 0
Start the conversation.
Questions and first-hand experience are welcome here.