
DIY Greenhouse Heating: Connecting My Boiler to Radiant Floor Heating

Learn how to effectively connect your boiler to a radiant floor heating system in your greenhouse, ensuring a warm and productive environment for your plants during the winter months.

Winter can be a challenging time for greenhouse enthusiasts. Ensuring that your plants stay warm and healthy requires an effective heating system. In this article, we will explore how to connect your boiler to a radiant floor heating system in your greenhouse. This method not only helps maintain optimal temperatures but also utilizes energy efficiently.
Why Radiant Floor Heating?
Radiant floor heating is an effective way to distribute heat evenly throughout your greenhouse. Unlike traditional heating methods, which can create hot spots and cold areas, radiant heating warms the floor, which in turn heats the air above it. This method is particularly beneficial for greenhouses, as it promotes consistent temperatures and can help extend your growing season.
Moreover, radiant floor heating is energy-efficient. It operates at lower temperatures compared to traditional heating systems, which can lead to lower energy bills. Since the heat rises evenly, it allows for a comfortable environment for both plants and gardeners alike.
Materials Needed
- Boiler suitable for water heating
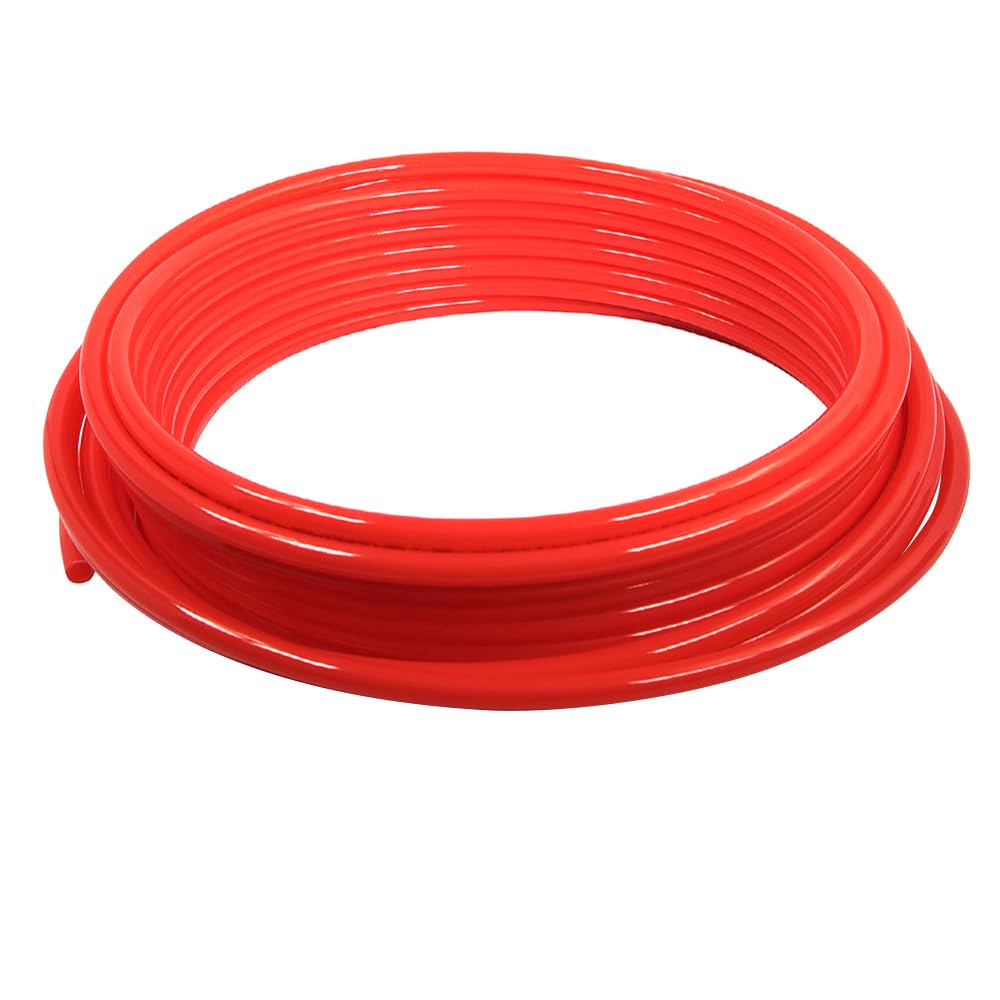
- Radiant floor heating tubing
- Hot water recirculating pump
- Thermostat
- PVC piping and fittings
- Insulation materials
- Temperature and pressure gauges
- Pipe clamps and supports
- Wrenches and basic hand tools
Steps to Connect Your Boiler to Radiant Floor Heating
- Plan Your Layout: Before starting, plan the layout of your radiant floor heating system. Determine where the tubing will be laid out on the floor and how it will connect to the boiler. Consider the size of your greenhouse and the heat distribution needed for different plant types.
- Install the Tubing: Lay the radiant heating tubing according to your planned layout. Ensure that it is spaced adequately to provide even heat distribution. Typically, the tubing should be placed 12 to 18 inches apart, depending on the heat requirements.
- Connect to the Boiler: Connect the tubing to the boiler using PVC piping. Ensure all connections are secure to prevent leaks. It is essential to use fittings that are rated for high temperatures to ensure safety and efficiency.
- Install a Recirculating Pump: A hot water recirculating pump helps maintain consistent water flow through the system. Install it close to the boiler for optimal performance. This pump will ensure that hot water circulates quickly and efficiently through the tubing.
- Set Up the Thermostat: Install a thermostat in the greenhouse to monitor the temperature. This will allow you to adjust the heating as necessary. Consider a programmable thermostat that can automate heating schedules based on day and night temperature variations.
- Insulate the System: Insulate the piping to prevent heat loss. This will improve the efficiency of your heating system. Using foam insulation sleeves on the pipes can help maintain temperature and reduce energy consumption.
- Test the System: Before using the system, test it to ensure there are no leaks and that the water circulates properly. Monitor the system for a few hours to ensure it reaches the desired temperature without any issues.
Common Mistakes to Avoid
- Poor Insulation: Failing to insulate pipes can lead to significant heat loss, making your system inefficient. Always check that all exposed piping is insulated.
- Incorrect Tubing Layout: Ensure that the tubing does not cross over itself to avoid hot spots. A well-planned layout ensures even heat distribution.
- Neglecting Safety Precautions: Always follow safety guidelines when working with boilers and high temperatures. Ensure that any electrical components are grounded and that the system is regularly checked for wear and tear.
Maintenance Tips
Regular maintenance of your heating system is crucial for optimal performance. Check for leaks periodically, monitor the water pressure, and ensure that the thermostat is functioning correctly. Additionally, consider flushing the system annually to remove any buildup that could affect efficiency.
Pay attention to the boiler's condition. Ensure that it is serviced regularly by a professional to maintain its efficiency and safety. Check the pressure relief valve and ensure it operates correctly to avoid overheating.
It's also beneficial to monitor the temperature of your greenhouse. Use a digital thermometer to keep track of day and night temperatures. Adjust your heating settings based on the plants' needs, as different species may require different temperature ranges.
Conclusion
Connecting your boiler to a radiant floor heating system in your greenhouse can significantly enhance your ability to grow plants during the colder months. With careful planning and execution, you can create a warm and productive environment for your plants. By following the steps outlined in this article and avoiding common pitfalls, you can enjoy a thriving greenhouse all winter long.
Investing in a well-designed heating system not only benefits your plants but also enhances your gardening experience by allowing you to cultivate a wider variety of plants year-round. Stay proactive with maintenance and monitoring, and your greenhouse will be a haven for growth and productivity.
Photos from this idea
Helpful products for this project
These products were matched to the materials, tools, and care steps discussed in the article.
- Happybuy Hot Water Recirculating Pump, 93W 110V Water Circulator Circulating Pump NPT 3/4" w/Brass Fittings, 3-speed Control Recirculation 9.5 Gpm RS15-6 for Electric Water Heater System - View Product: Main Parameter: The hot water circulation pump features NPT 3/4 inch (19.05 mm) inlet/outlet. Voltage/Frequency:...
- Amazon - View Product: Amazon
- Jocisland 14x9.5x9 FT Polycarbonate Greenhouse- 6 FT Wall Height Outdoor Aluminum Greenhouses with 2 Ventilation and Rain Gutter, Double Doors with Hook, Walk-in Greenhouse for Backyard Garden - View Product: 【Versatile Space】850 cu. Ft. to create a perfect warm environment for your personal plants. Transform your...
Source: Watch the original YouTube Short.
Keep exploring
Find more Junecity guides
Browse practical gardening, outdoor living, and DIY articles.Browse the blogShop this guide
Affiliate Picks
Tools & supplies I use and recommend


As an affiliate, junecity.studio may earn from qualifying purchases at no additional cost to you.
Keep growing
Suggested reading

I Tried to Puncture My Greenhouse Heating Pipes! 😱
Discover the resilience of greenhouse heating systems as we explore the tough world of PEX tubing and its practical applications in maintaining a thriving greenhouse.
How to Heat a Greenhouse in Winter
Inside my Connecticut greenhouse heating system: calculate winter heat loss, explore the water loop and radiant floor, and watch the complete eight-part build series.
0 comments
Comments (0)
We love hearing from our community. Share your thoughts, questions, or experience.
Have something to add?
Log in to post, react, share images, and join threads.
Newest First
All Comments
Showing 0-0 of 0
Start the conversation.
Questions and first-hand experience are welcome here.