
How to Repot Houseplants Indoors Without Making a Mess

A clean, plant-safe indoor repotting workflow with a mobile checklist, pot-sizing guidance, cleanup tips, and an honest look at waterproof repotting mats.
Affiliate disclosure: This article contains Amazon affiliate links. I may receive compensation when you click or make a qualifying purchase. As an Amazon Associate, I earn from qualifying purchases.

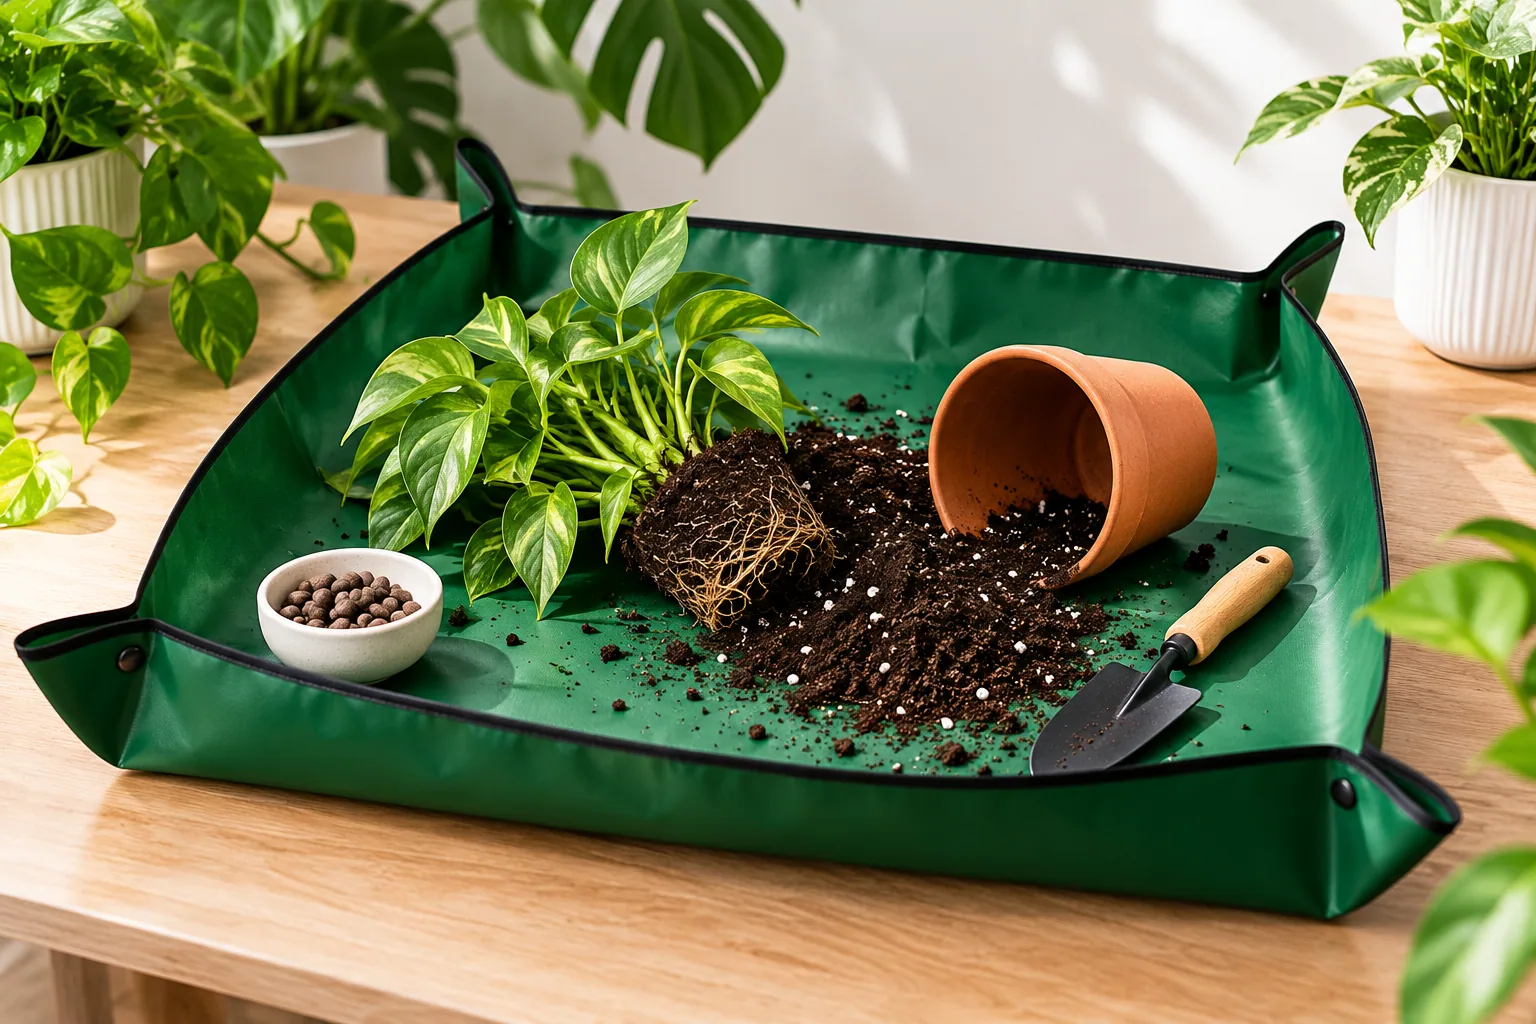
Repotting indoors does not have to mean potting mix across the floor, water rings on the table, and a cleanup that takes longer than the plant work. A foldable waterproof mat creates a defined work zone with raised corners so loose mix, roots, and tools stay together.
The featured HNXTYAOB mat is linked to Amazon ASIN B0BC9LRD4L. The listing identifies a 27-by-27-inch thickened waterproof foldable mat for transplanting and mess control. That size is compact enough for many tabletop houseplant jobs, but it is not a substitute for a larger tarp when handling oversized plants or very large containers.
First decide whether the plant needs repotting
Penn State Extension lists several useful signs: the mix dries unusually quickly, roots emerge from drainage holes, growth slows, or roots circle densely inside the container. A decorative change alone is not always a reason to disturb a healthy root ball.
When repotting is justified, choose a container only slightly larger than the current one. Oversizing can leave a large volume of wet mix around a small root system.
What a repotting mat changes
| Feature | How it helps | Limit |
|---|---|---|
| 27 × 27-inch listed size | Creates a compact work area for small and medium houseplants | Measure your pot, tools, and root ball before assuming it will fit |
| Waterproof surface | Helps contain damp mix and minor spills | Standing water can still escape during folding or transport |
| Corner fasteners | Raise the edges to keep debris from rolling away | Fasteners must be fully secured before work begins |
| Foldable design | Stores more easily than a rigid tray | Creases and seams still need cleaning and drying |
Prepare before opening the pot
- The new container, with drainage holes
- Fresh potting mix appropriate for the species
- Clean pruners or scissors if damaged roots must be removed
- A scoop, chopstick, or small trowel
- Gloves if desired
- A watering container and a place for drainage
- A bag or bin for old mix and debris
Set the mat on a stable, water-resistant surface. Snap the corners up, place the empty new pot and tools inside, and keep phones, textiles, and electrical items away from the work zone.
How to repot a houseplant indoors
- Moisten dry mix lightly. Bone-dry media can collapse everywhere, while saturated media is heavy and messy. Aim for workable—not soggy—conditions.
- Release the root ball. Support the plant near the soil line and tip the pot. Squeeze flexible nursery pots or tap the sides rather than yanking the stem.
- Inspect roots. Healthy roots are generally firm. Remove only clearly dead or rotten material with a clean tool.
- Position at the same depth. Add mix below the root ball, then set the plant so the original soil line remains appropriate.
- Backfill gently. Work mix around the roots without compressing all air spaces.
- Water and drain. Penn State recommends watering thoroughly and allowing excess to drain. Empty any standing saucer water.
- Clean before moving. Return unused mix, remove large debris, then fold the mat inward so residue stays contained.
Use the interactive checklist
The checklist below keeps the sequence visible on a phone while your hands are busy. It also includes a conservative next-pot suggestion: generally one to two inches wider for many houseplants, while plant type and root condition still decide the final choice.
How to clean and store the mat
Remove dry debris first. Wipe or rinse according to the product instructions, paying attention to folds and fasteners. Let the mat dry completely before folding it for storage. Do not return damp potting residue to a sealed storage area where odor or mold can develop.
When a mat is not enough
Use a larger tarp, shower area, garage, or outdoor workspace for plants that are taller than you can safely control, containers too heavy to lift, thorny specimens, or root balls wider than the work surface. Ask for help with heavy pots. A compact mat contains debris; it does not make unsafe lifting safe.
Who should consider this product?
The HNXTYAOB mat may suit apartment gardeners, winter repotting, propagation work, and routine tabletop maintenance. It may be unnecessary if you already use a washable utility sink or large rigid tray. It may be too small for floor-standing tropicals and mature trees.
Repotting mat versus common alternatives
| Work surface | Strength | Tradeoff |
|---|---|---|
| Foldable waterproof mat | Compact storage and raised containment edges | Must be unfolded, fastened, cleaned, and dried |
| Rigid potting tray | Stable walls and easy scooping | Takes more storage space |
| Plastic drop cloth | Covers a large floor area | Flat edges do not contain rolling debris well |
| Newspaper or cardboard | Disposable and inexpensive | Can soak through and tear |
Frequently asked questions
Can I repot immediately after buying a plant?
Not always. Inspect the plant, roots, mix, pests, and container first. Unnecessary disturbance can add stress during acclimation.
How much larger should the next pot be?
For many houseplants, a modest step—often roughly one to two inches in diameter—is safer than a dramatic jump, but root system and species matter.
Should I remove all old soil?
Usually not. Remove loose or degraded material and address diseased roots, but aggressive bare-rooting can damage healthy roots unless the situation requires it.
Can old potting mix be reused?
Avoid reusing mix from diseased or pest-infested plants. For other material, consider contamination, structure, salts, and the needs of the next use.
Bottom line
A repotting mat will not improve plant health by itself, but it can make correct work easier to organize and clean up. The HNXTYAOB 27-inch mat is a practical option for small and medium indoor jobs when you value compact storage and a contained work area.
A tap-friendly repotting sequence with progress and conservative pot-size guidance.
Keep exploring
Find more Junecity guides
Browse practical gardening, outdoor living, and DIY articles.Browse the blogShop this guide
Affiliate Picks
Tools & supplies I use and recommend
As an affiliate, junecity.studio may earn from qualifying purchases at no additional cost to you.
Keep growing
Suggested reading
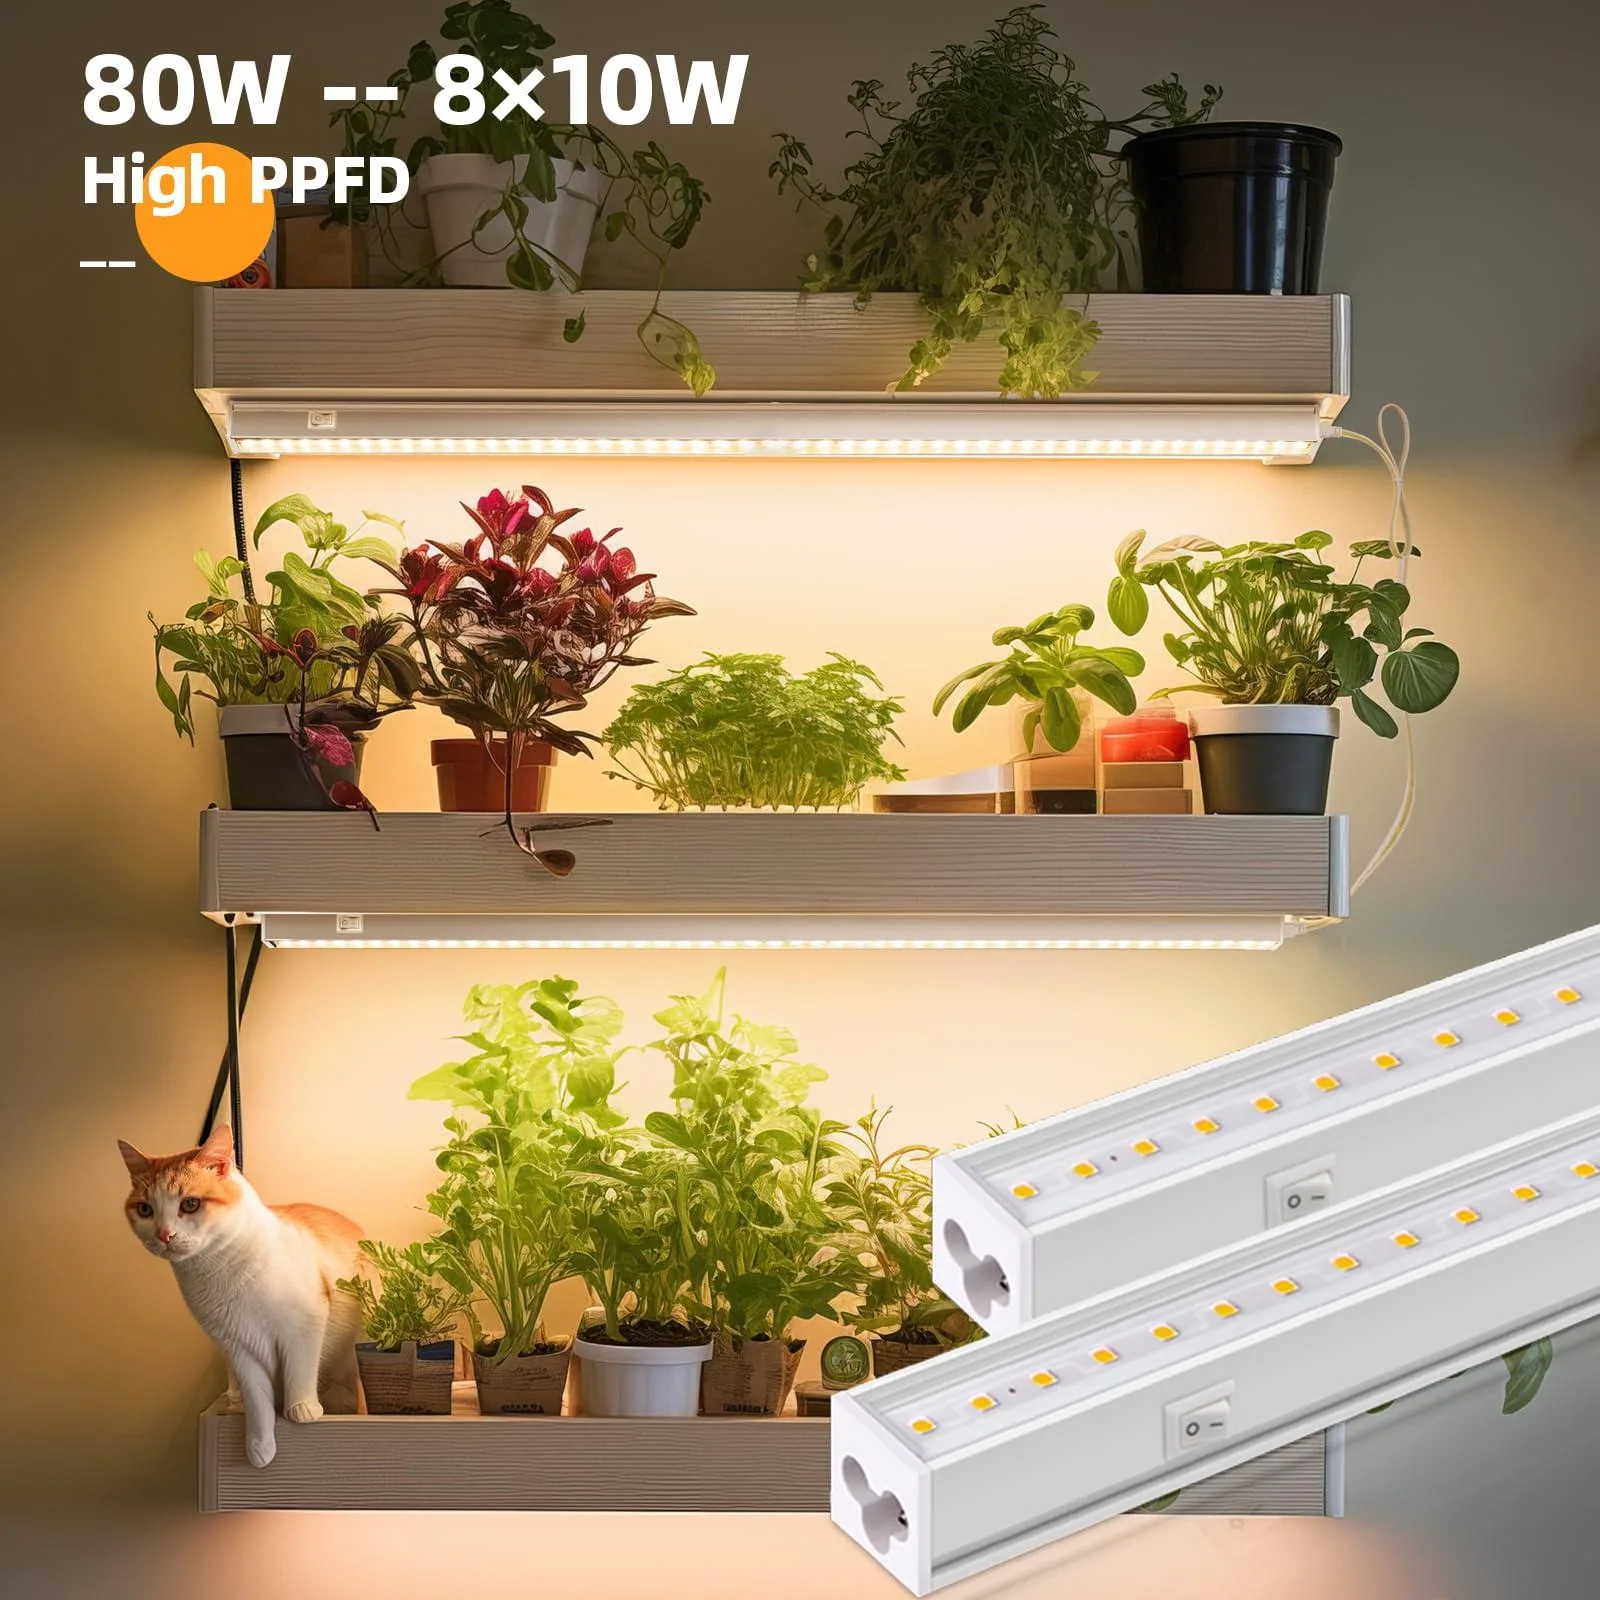
How to Build an Indoor Growing Shelf for Winter: A Complete Beginner's Guide
Build a simple indoor growing shelf for winter seed starting: LED lights, shelving, timers, airflow, and seedling care, step by step.

Growing BANANAS in CONNECTICUT?! Winter Is Coming! 🍌🥶
Learn how to protect your banana trees in Connecticut's harsh winter. Discover effective insulation methods using grass clippings and other tips for successful banana cultivation in cold climates.
0 comments
Comments (0)
We love hearing from our community. Share your thoughts, questions, or experience.
Have something to add?
Log in to post, react, share images, and join threads.
Newest First
All Comments
Showing 0-0 of 0
Start the conversation.
Questions and first-hand experience are welcome here.