
This One Cut Could Grow a New Pear Variety 🍐
Discover the art of grafting to create a new pear variety from a single cut. This guide provides practical steps, tips, and troubleshooting advice to ensure successful grafting.


At a glance
Key Takeaways

Grafting Success
Careful alignment of cambium layers is crucial for a successful graft.

Benefits of Rooting Gel
Using rooting gel enhances the chances of successful root development.

Avoid Common Mistakes
Ensure tools are sharp and cuts are clean to prevent graft failure.
Grafting is a fascinating horticultural technique that allows gardeners to create new fruit varieties by joining parts from two different plants. In this article, we will explore the art of grafting a pear tree, focusing on how a single cut can lead to the growth of a new pear variety. Whether you're an experienced gardener or a newbie, this guide will provide practical steps and tips to ensure your grafting project is a success.
Why Grafting Pear Trees Matters
Grafting is not just a method of propagation; it's a way to enhance the genetic diversity of your garden. By grafting a pear tree, you can combine the desirable traits of two different varieties, such as flavor, disease resistance, and growth habit. This technique can also help you preserve heirloom varieties that might otherwise be lost. Grafting allows you to produce fruit that is tailored to your specific growing conditions, which is particularly vital in areas where certain varieties may struggle to thrive.
Understanding the Basics of Grafting
Before diving into the grafting process, it's essential to understand a few key terms:
- Scion: The upper part of the graft, which will become the new variety. It is important to select a scion that has healthy buds and is free of disease.
- Rootstock: The lower part of the graft, which provides the root system. Choosing the right rootstock can influence the growth rate, size, and overall health of the grafted tree.
- Cambium: The layer of growth tissue between the bark and the wood that is crucial for the graft to take. Successful grafting relies on the cambium layers of both the scion and rootstock aligning perfectly to heal and grow together.
Materials You'll Need
To successfully graft a pear tree, you will need a few essential materials:
- NAYE Grafting Gardening Knife: A high-quality grafting knife is crucial for making precise cuts.
- Clonex Rooting Gel: This rooting gel promotes healing and root development, increasing the chances of a successful graft.
- Grafting Tape: This tape secures the graft and protects it from pests and environmental factors.
- Pruning Shears: Sharp pruning shears are necessary for preparing the rootstock and scion.
- Clean Cloth: To wipe down tools and prevent contamination.
- Sealant (optional): Some gardeners use a sealant to protect the graft site from moisture loss and pests.
Step-by-Step Grafting Process
Follow these detailed steps to successfully graft your pear tree:
- Choose Your Scion and Rootstock: Select a healthy scion from a pear tree that has the desired characteristics, such as flavor, size, and disease resistance. Pair it with a compatible rootstock. Ideally, both should be of similar diameter to ensure a successful graft.
- Make the Cut: Using the NAYE Grafting Knife, make a clean cut at a 45-degree angle on the scion about 4-6 inches long. Ensure the cut is smooth to promote healing. Next, make a matching cut on the rootstock. The cuts should be similar in size and angle to allow for proper alignment.
- Align the Cambium Layers: Carefully align the cambium layers of both the scion and rootstock. This is a crucial step; if the cambium layers do not touch, the graft will not take. Make sure that the edges of the cuts fit snugly together.
- Apply Clonex Rooting Gel: Apply the rooting gel generously to the cut surfaces to promote healing and rooting. This gel contains hormones that stimulate root growth and help the graft heal faster.
- Secure the Graft: Use grafting tape to securely hold the scion in place against the rootstock. Wrap the tape tightly around the graft area, ensuring that the graft is secure but not so tight that it constricts growth.
- Care for the Graft: Place the graft in a warm, shaded area and keep it moist. Monitor it for signs of growth. It’s essential to keep the grafting area humid but avoid waterlogging, which can lead to rot.
- Monitor Growth: After a few weeks, check for signs of new growth. If you see buds beginning to swell, this is a good sign that the graft has taken. Continue to care for the graft by keeping it moist and protected from pests.
Common Mistakes to Avoid
Grafting can be tricky, and avoiding common pitfalls will increase your chances of success:
- Improper Alignment: Failing to align the cambium layers can lead to graft failure. Take your time to ensure they are perfectly aligned.
- Using Dull Tools: Always use sharp tools to make clean cuts. Dull tools can crush plant tissue and impede healing.
- Neglecting Watering: Ensure the graft remains moist but not waterlogged. Check the moisture levels regularly, especially in hot weather.
- Using Incompatible Varieties: Make sure that the scion and rootstock are compatible. Not all varieties of pears can be grafted together successfully.
- Ignoring Pests: Protect the graft from pests and diseases. Inspect the graft site regularly for signs of infestation.
Next Steps After Grafting
Once your graft has taken, it's essential to provide proper care to ensure the health of your new pear tree:
- Remove Suckers: Regularly check for and remove any suckers that may emerge from the rootstock. These can divert energy away from the scion.
- Gradually Acclimate to Sunlight: As the scion begins to grow, gradually acclimate it to more sunlight. Start with partial shade and slowly introduce it to full sun over a few weeks.
- Watering Needs: Continue to monitor watering needs, especially during dry spells. A newly grafted tree may require more frequent watering until it establishes a robust root system.
- Fertilization: After a few months, consider applying a balanced fertilizer to support growth. Be careful not to over-fertilize, as this can stress the young tree.
- Protecting from Winter: If you live in an area with cold winters, protect the graft area with mulch or wrapping to prevent frost damage.
Frequently Asked Questions
How long does it take for a graft to take?
Typically, it can take anywhere from a few weeks to a few months for a graft to take, depending on the species and environmental conditions. During this time, monitor the graft for any signs of growth.
Can I graft different types of fruit trees?
Yes, as long as the trees are from the same family, you can graft different types of fruit trees together. However, compatibility varies, so it's essential to research which varieties work best together.
What should I do if the graft fails?
If the graft fails, don’t be discouraged. Evaluate the conditions and your techniques. Consider trying again with a different scion or rootstock, and ensure that you are following best practices for grafting.
Conclusion
Grafting a pear tree is a rewarding and practical way to cultivate new fruit varieties. With the right materials, careful execution, and proper aftercare, you can successfully grow a new pear variety from a single cut. Remember, patience is key in grafting, as it may take time for the graft to heal and grow. Happy grafting!
Photos from this idea
Helpful products for this project
These products were matched to the materials, tools, and care steps discussed in the article.
- Root Genie Smart Garden Fertilizing System | attachments Include Metal Pistol Grip Spray Nozzle, Fertilizer Canister and Ball Valve | Great for All Flower, Plant, Trees and Vegetables Gardens. - View Product: Consider a plants mouth the roots.
- Clonex Rooting Gel - High-Performance Rooting Compound for Plant Cuttings, Contains IBA, Promotes Root Initiation & Development - 100ml - View Product: HIGH-PERFORMANCE ROOTING GEL - Clonex Rooting Gel is a water-based formula with...
- MEPEREZ Premium Pruning Shears For Gardening, Work 3 Times Easier, Pruners Heady Duty, Sharp Garden Clippers Cuting Florist Flower, Hedge, Herb, Rose, Indoor Live Plants, Arthritis Weak Hand Snips - View Product: 🎁STRONG CONSTRUCTION, DURABLE, SHARP FOR A LONG TIME: Made of premium materials...
- NAYE Grafting Gardening Knife,2-5/8" Curved Straight Blades Garden Knife for Budding Pruning,with Grafting Tape Plant Labels/Tree Tags - View Product: Razor sharp curved/straight two blade pocket grafting knife.
- MEPEREZ Premium Germany - Steel Pruning Shears, Work 3 Times Easier, Pruners Heady Duty, Sharp Garden Clippers Cuting Florist Flower, Hedge, Herb, Rose, Indoor Live Plants, Arthritis Weak Hand Snips - View Product: 🎁WELL-MADE AND EASY TO USE: Our German-style garden clippers are a high quality...
Source: Watch the original YouTube Short.
Keep growing
Suggested reading

THIS Is What My New Pear Grafts Could Produce! 😳🍐 | Part 5
Explore the exciting world of grafting pears as we delve into the potential outcomes of my latest grafting project. Learn about the techniques, tools, and tips to ensure successful fruiting limbs.
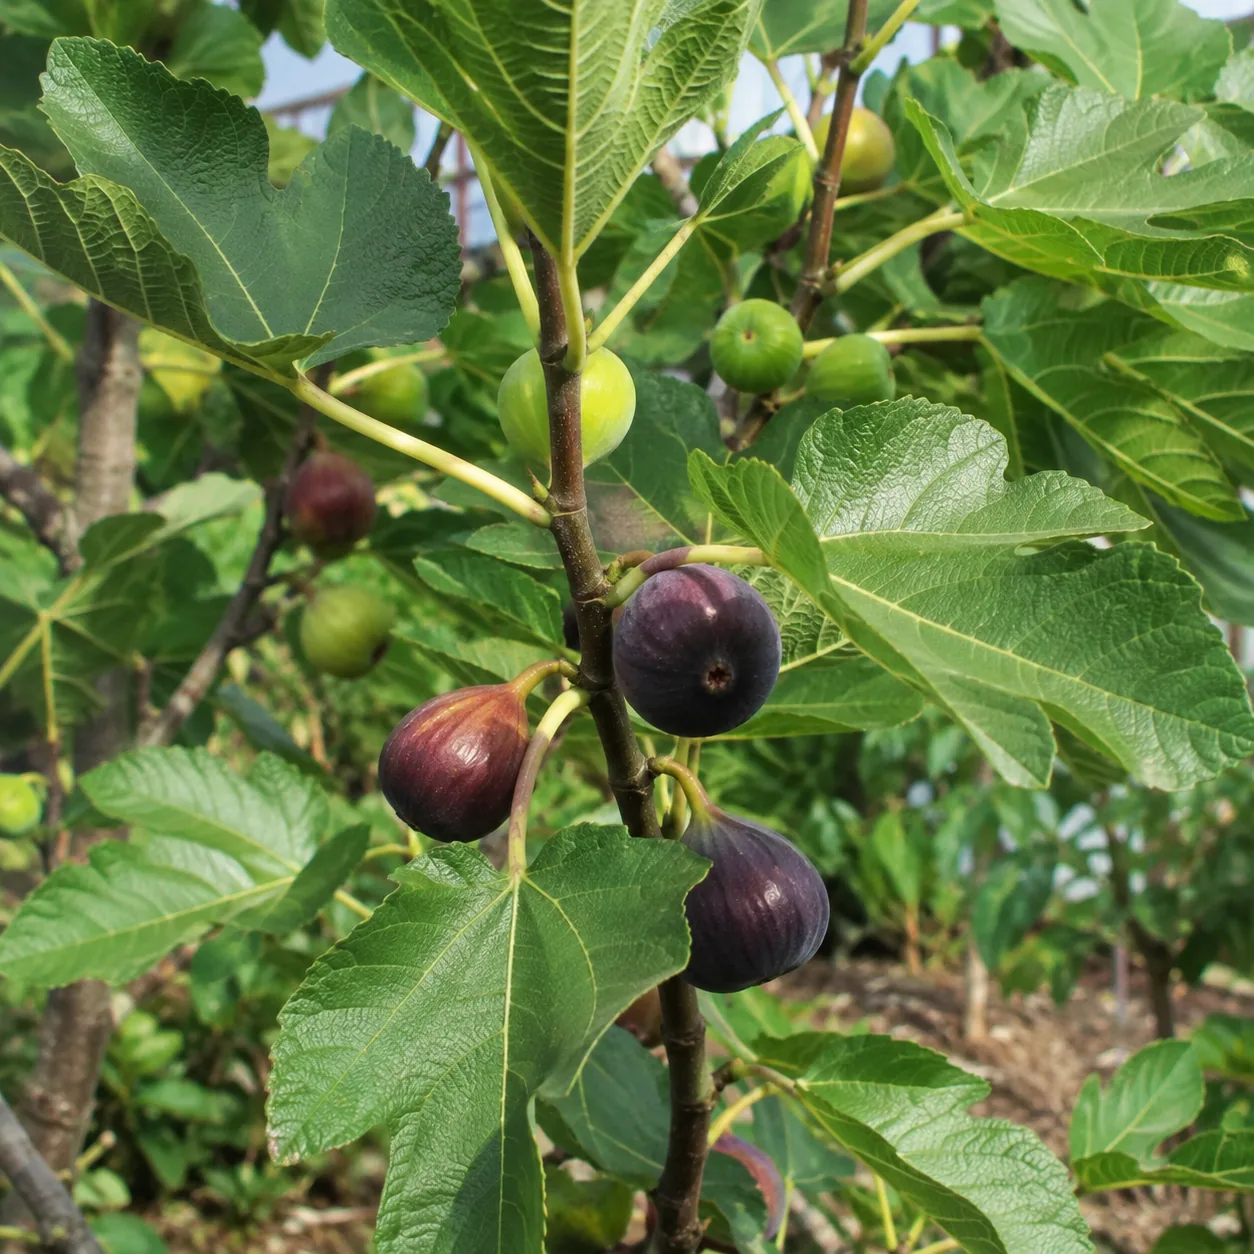
How to Grow Figs: From Planting to a Sweet Harvest
Learn how to successfully grow a healthy fig tree from planting to harvest, including watering, pruning, fertilizing, winter protection, and propagation.
0 comments
Comments (0)
We love hearing from our community. Share your thoughts, questions, or experience.
Have something to add?
Log in to post, react, share images, and join threads.
Newest First
All Comments
Showing 0-0 of 0
Start the conversation.
Questions and first-hand experience are welcome here.